
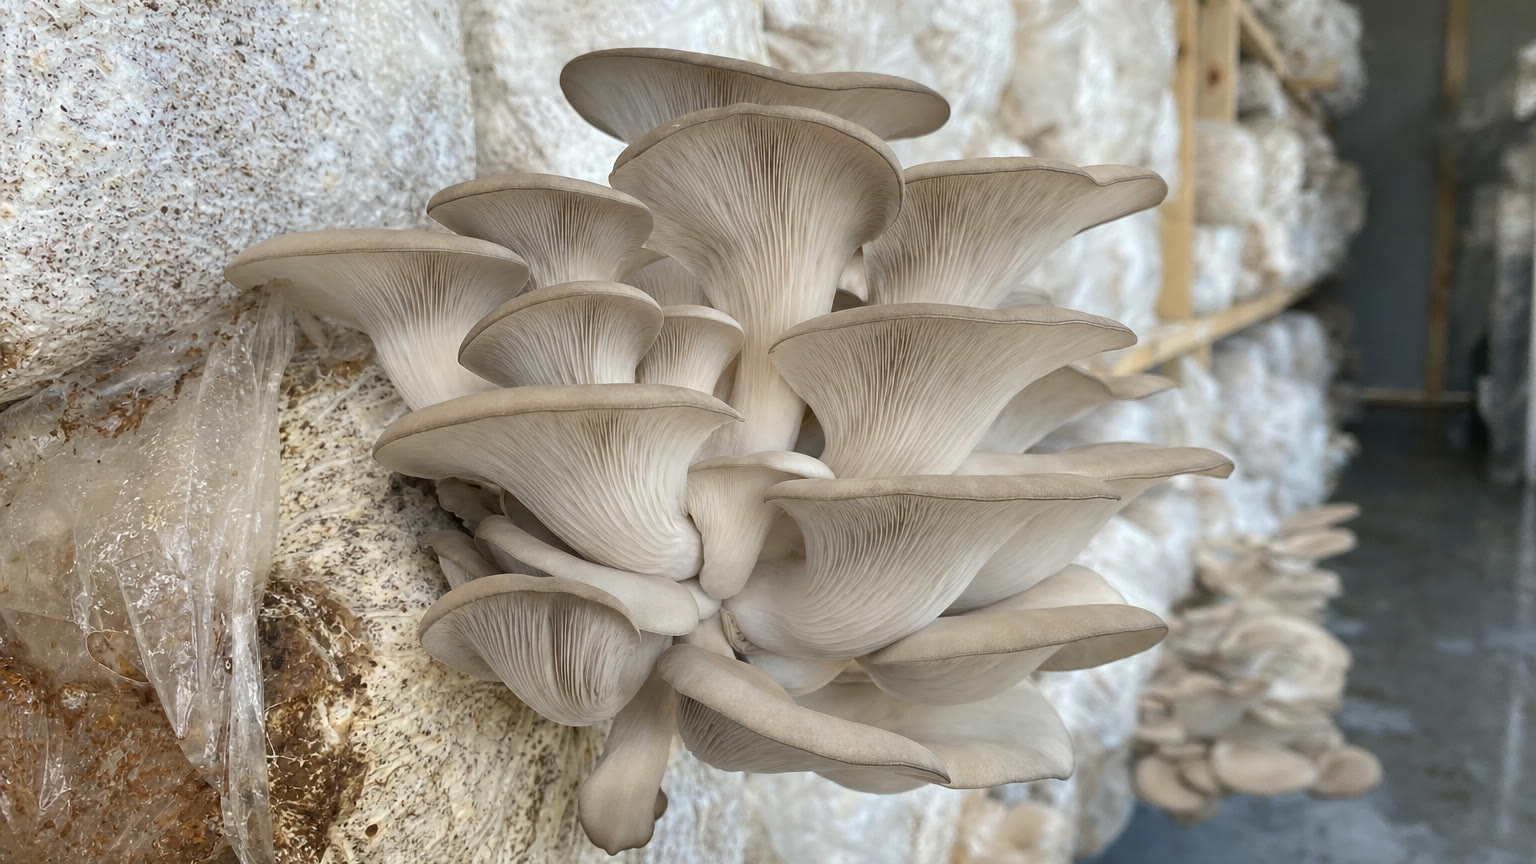
There is a real difference between oyster mushrooms that traveled for days to reach a store shelf and a cluster you cut from your own block an hour ago. Fresh oysters are firm, mild and slightly sweet, with a texture that can turn tender or crisp depending on how you cook them. The catch is that oysters hold a lot of water, and the way you handle that moisture decides whether they come out golden and savory or pale and rubbery.
These are the techniques our team relies on to get the most out of homegrown oysters, from preparing the cluster to choosing the right method for each color.
Preparing your harvest for the pan
Homegrown oysters rarely need washing. If there is substrate stuck to the base, trim it off with a knife and brush away any loose bits. Avoid soaking them, because oysters absorb water quickly and will steam instead of browning.
Next, deal with the stems. Where the cluster joined the block, the stems fuse into a dense base that is often tough and chewy. Cut that base away and set it aside for stock if you like. The upper stems of most oysters are tender enough to eat, especially on younger mushrooms.
Finally, tear rather than slice. Pulling the caps apart along their natural lines leaves rough edges that crisp up beautifully, while knife-cut pieces tend to cook flatter. Aim for pieces of similar size so they finish at the same time.
The dry sauté: the one technique to learn first
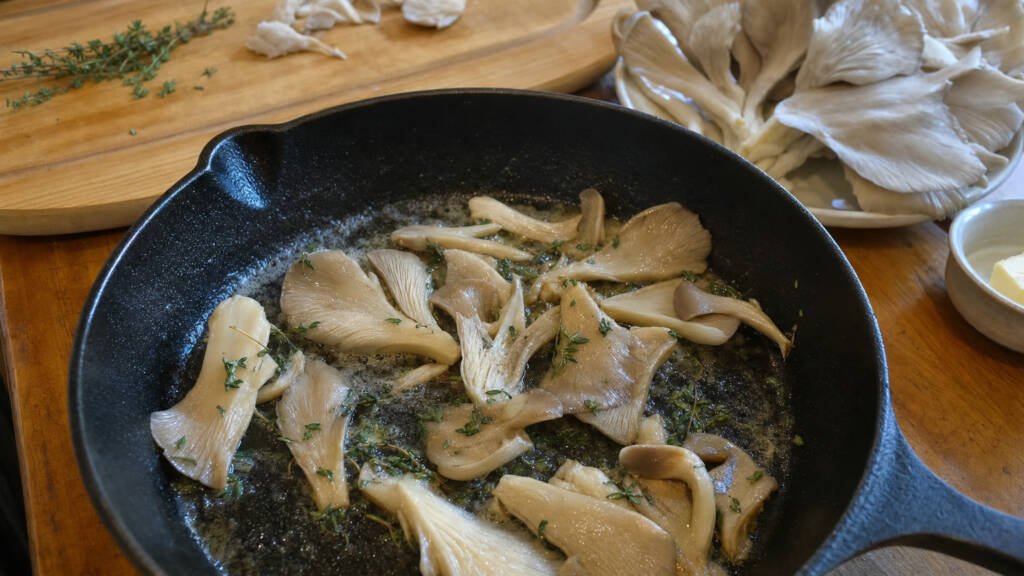
The most useful method for oysters is a dry sauté. Heat a wide pan over medium-high heat and add the torn mushrooms with no oil at all. Within a minute or two they will start releasing their water. Keep them moving and let that liquid evaporate completely. Once the pan is dry and the mushrooms begin to squeak and stick slightly, add a spoonful of butter or oil.
Now the browning happens. Leave the mushrooms alone for a minute so they can color on one side, then toss and repeat. The result is concentrated flavor and edges that are golden and crisp. Add salt near the end, because salting early draws out more water and slows the browning.
Two habits make a big difference. Do not crowd the pan; if the mushrooms are piled up, they steam. Cook in batches if you need to. And use a pan large enough that each piece touches the surface.
Matching the method to the color
Each oyster color behaves a little differently in the kitchen. Blue and grey oysters have the thickest caps and the meatiest texture. They stand up well to longer cooking, so they are a good choice for roasting, braising and adding to soups or stews, where they keep their bite.
Pink oysters have a firm, slightly chewy texture and a savory flavor that many cooks compare to bacon or ham once they are well browned. They lose their pink color in the pan and turn light tan, which is completely normal. Pink oysters are best cooked within a day or two of harvest, and they shine when crisped in a hot pan or shredded and fried.
Golden oysters are the most delicate. Their thin caps cook in just a few minutes, and their nutty flavor can get lost under heavy sauces. A quick sauté in butter with a pinch of salt is often all they need. Add them near the end of a dish so they keep their shape.
Roasting and other easy methods
When you have a large harvest, roasting saves time. Toss torn oysters lightly with oil and salt, spread them on a sheet pan in a single layer, and roast in a hot oven until the edges are deeply browned and crisp. Turning them once halfway through helps them color evenly. Roasted oysters work well on grain bowls, pasta and pizza, or simply as a side dish.
Oysters also take well to the grill. Keep larger clusters partly intact, brush with oil, and grill over medium heat until browned and tender, then pull them apart to serve. For a crisp finish, some cooks press clusters under a heavy pan as they cook, which flattens them and creates plenty of browned surface.
Oysters are best cooked thoroughly rather than eaten raw, and their mild flavor pairs well with garlic, thyme, soy sauce, lemon and fresh herbs. Start simple, taste as you go, and adjust from there.
Simple ways to build a meal around oysters
Oysters are versatile enough to take the center of the plate. Browned oysters on toast with garlic butter and herbs make a quick lunch. Tossed into pasta with olive oil, lemon zest and parmesan, they become a weeknight dinner in under twenty minutes. Crisped pink or blue oysters can stand in for meat in tacos, sandwiches and grain bowls, especially when finished with a splash of soy sauce or a pinch of smoked paprika.
Soups and stocks are another good use, particularly for the tough stem bases you trimmed earlier. Simmer those bases with onion, garlic and a few herbs for a mild mushroom stock, then strain and use it as the base for risotto, noodle soup or a pan sauce. Nothing from the harvest goes to waste, and the stock carries the same fresh flavor as the caps.
Whatever you cook, add delicate golden oysters at the end and give sturdier blue oysters more time. Taste as you go, season near the finish, and let the mushrooms be the main flavor.
Making the most of every flush
Because oysters are at their best within a day or two of harvest, plan meals around your fruiting schedule. Cook the most delicate colors first and save the sturdier blue oysters for later in the week. If a flush is bigger than you can use, sauté the extra and freeze it in flat portions, or dry it for soups and stocks.
Growing your own means you get to cook oysters at a freshness most people never experience. If you want to keep your kitchen stocked, our beginner mushroom growing guide covers the grow from start to finish, or you can Shop cultures and spawn for your next round of oyster cultures.
Add Comment