
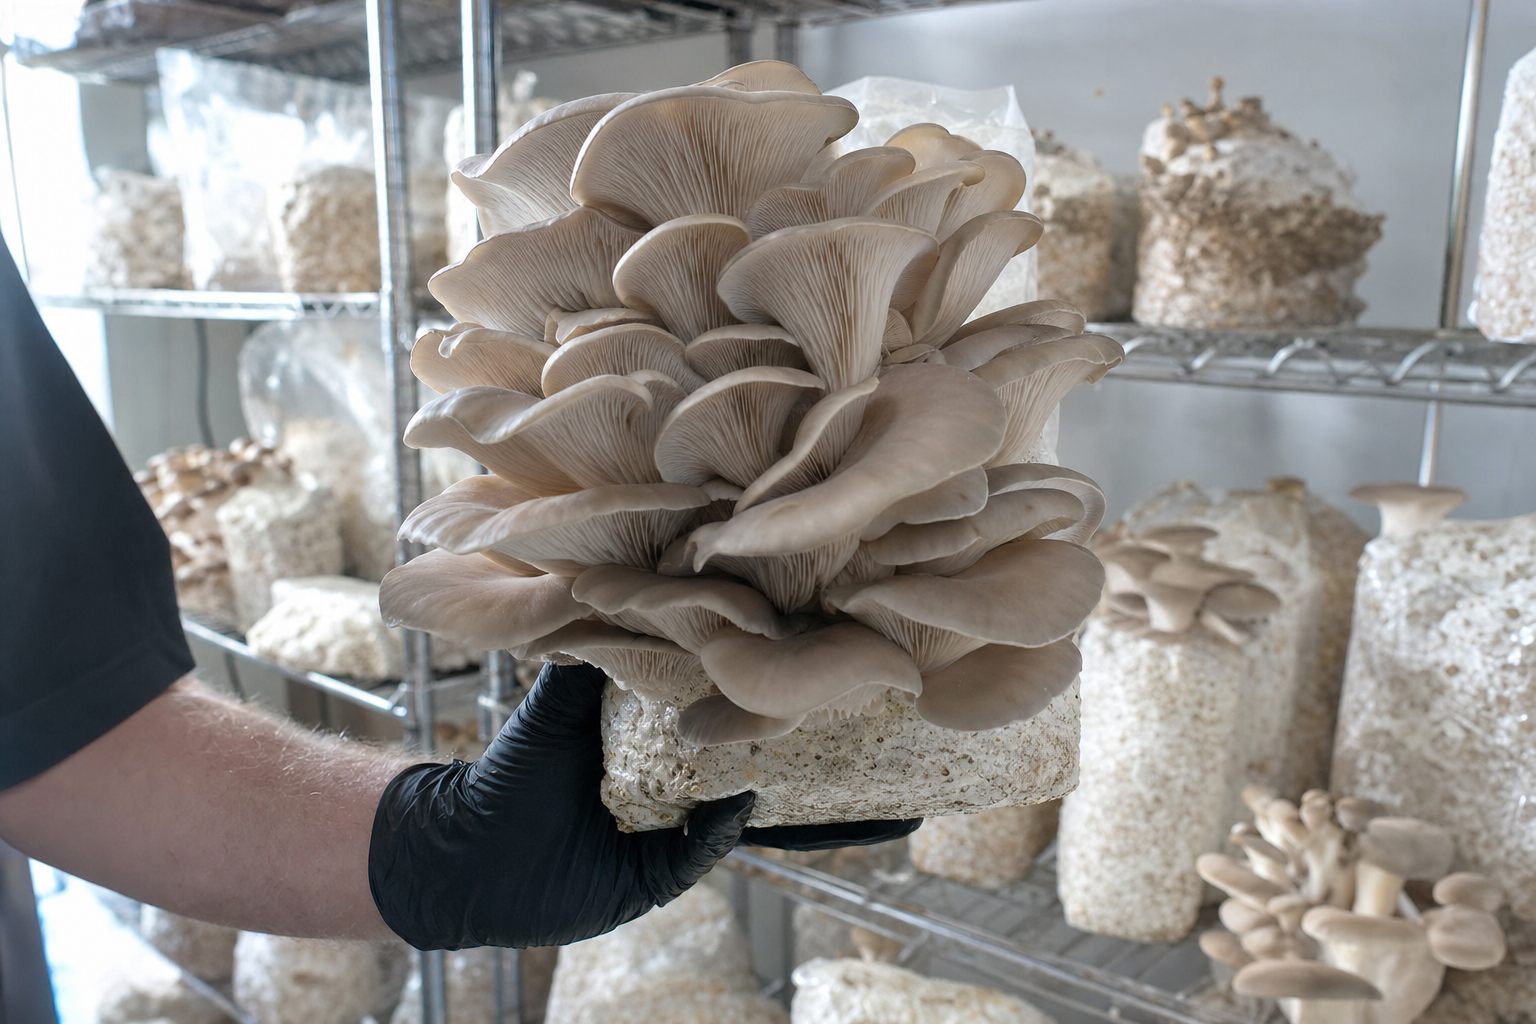
Most growers blame their fruiting chamber when harvests come in small. The humidity was wrong, the airflow was off, the temperature dipped. Those things matter, but they’re rarely the whole story. Mushroom size is determined by a chain of decisions that starts long before pins ever form, and understanding that chain changes how you approach every grow.
Genetics Set the Ceiling
Every mushroom variety has a size range built into its genetics. A strain selected and documented for dense, large fruiting bodies will consistently outperform one that was never evaluated for that trait, even under identical conditions. This is why starting with verified, performance-documented genetics is not just a convenience, it is the baseline. If the genetics are unknown or undocumented, you are guessing at what the ceiling even is.
Within a species, strain variation is significant. Two oyster mushroom strains grown side by side on the same substrate can produce noticeably different cluster weights and individual cap sizes. Choosing intentionally, rather than using whatever is available, is the first decision that shapes your harvest.
Substrate Density and Nutrition
Mushrooms draw the carbon, nitrogen, and moisture they need to build tissue from the substrate. A block that is too light, poorly colonized, or nutritionally thin will cap out early. Fully colonized, properly hydrated substrate gives the mycelium a larger reservoir to pull from during fruiting, which directly supports larger individual specimens and heavier flushes.
Colonization Quality Matters
Partial or uneven colonization is a common size limiter that growers overlook. A block that is 70 percent colonized is not 70 percent as productive as a fully colonized one, the uncolonized zones represent substrate the mycelium cannot access during fruiting. Full, even colonization before initiating fruiting is worth the extra incubation time.
Moisture Content
Substrate moisture content at the time of fruiting is one of the more underappreciated variables. Mushrooms are largely water by weight. A block that has dried out during a long incubation period has less to offer the developing fruiting bodies. Field capacity, moist but not waterlogged, is the target going into the fruiting stage.
Fruiting Environment: Airflow, Humidity, and CO₂
Once the substrate is right and pins have set, the fruiting environment determines how well the developing mushrooms can reach their genetic potential.
Carbon Dioxide Concentration
Elevated CO₂ is one of the most reliable ways to stall mushroom development and reduce size. In still, poorly ventilated spaces, CO₂ accumulates as the mycelium respires. High CO₂ levels trigger elongated stems and small, underdeveloped caps, the mushroom’s way of reaching for fresher air. Regular air exchanges or gentle airflow keep CO₂ from building to a level that redirects the mushroom’s energy away from cap development.
Relative Humidity
High relative humidity during pinning and early development reduces the rate at which the developing fruiting bodies lose moisture to the surrounding air. A mushroom that is drying faster than the mycelium can supply water will stop growing before it reaches full size. Maintaining humidity in the 85 to 95 percent range during active fruiting supports continued tissue expansion.
Temperature
Temperature affects metabolic rate. Each species has a preferred fruiting temperature range, and growing at the low or high end of that range can slow development and reduce final specimen size. Staying within the preferred window for the specific variety being grown keeps development on track.
Harvest Timing
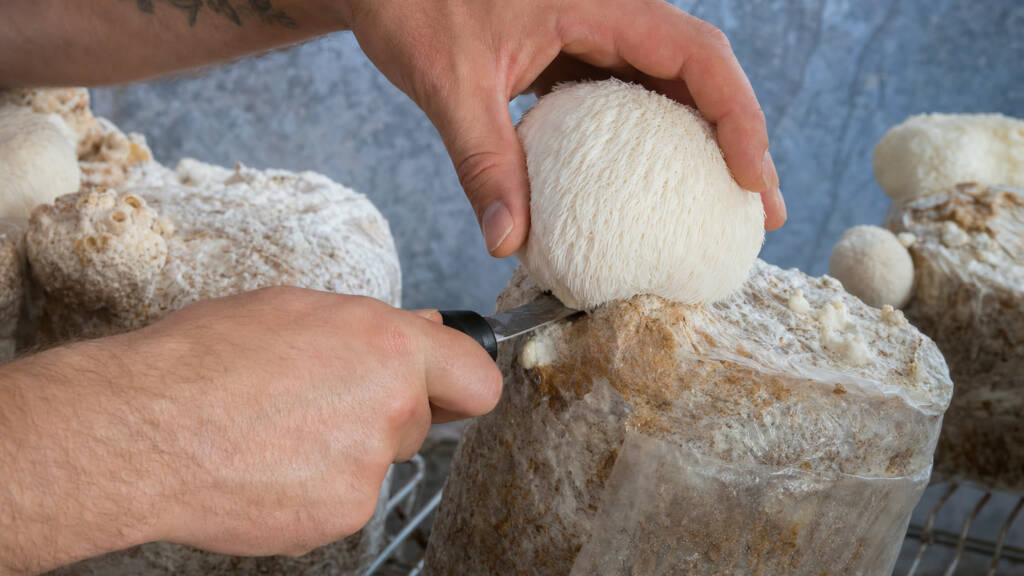
Harvesting too early leaves size on the table. Harvesting too late results in spore drop, quality loss, and reduced second flush potential. The target for most gourmet species is just before or as the veil begins to separate from the cap edge, the point at which the mushroom has reached most of its size but has not yet begun to decline.
Learning to read the visual cues for each species takes a few grows. Oyster mushrooms, for example, are typically harvested when the cap edges are still slightly curled under and have not yet begun to flatten or wave. Lion’s mane is best cut when the teeth are fully developed but before any yellowing appears at the base.
Flush Management and Recovery
The first flush is rarely the only opportunity. Many species produce two, three, or more productive flushes from a single block if managed correctly between cycles. Allowing the block to rest, recover moisture, and resume mycelial activity between flushes keeps subsequent harvests productive rather than marginal.
Rehydration between flushes, submerging the block in clean water for several hours, is a common practice for restoring the moisture that the first flush drew out. How well a block responds to rehydration depends in part on the colonization quality and the genetics of the strain.
Putting It Together
Large, consistent harvests are not the result of one right decision. They come from a chain of aligned choices: documented genetics, fully colonized and properly hydrated substrate, controlled CO₂ and humidity during fruiting, attentive harvest timing, and thoughtful flush management.
If any link in that chain is weak, the rest of the effort compensates only so much. The growers who consistently produce impressive specimens tend to be the ones who understand which variable to address first, and it is almost never the one they started by blaming.
For a closer look at the varieties that tend to reward this kind of attention, the guide to growing large mushroom specimens covers species-specific considerations worth keeping in mind as you plan your next grow.
Add Comment