The Mushroom Growing Process: From Inoculation to Harvest
Growing mushrooms at home follows a predictable sequence of steps that applies to virtually every gourmet species. Once you understand this process, you can adapt it to different species, substrates, and growing setups. Whether you are using a ready-made grow kit or building your cultivation system from scratch with liquid cultures and bulk substrates, the fundamental stages remain the same.
Stage 1: Inoculation
Inoculation is the process of introducing mushroom mycelium into a sterile growing medium. For most home growers, this means injecting a liquid culture syringe into a grain jar, all-in-one grow bag, or substrate bag through a self-healing injection port. The goal is to introduce viable mycelium into the nutrient source while keeping everything else out. Work in the cleanest environment possible — ideally in front of a laminar flow hood or inside a still air box. At minimum, sanitize your hands, tools, and the injection port with isopropyl alcohol before proceeding.
Stage 2: Colonization
After inoculation, the mycelium begins feeding on the grain or substrate and expanding outward from the injection point. This stage is called colonization, and it typically takes 2-4 weeks depending on species, temperature, spawn rate, and substrate type. During colonization, keep the container in a warm (72-78 degrees Fahrenheit for most species), dark location with minimal disturbance. You should see white mycelium spreading through the grain or substrate within the first week. Full colonization is reached when the entire substrate is covered in a dense white mat of mycelium with no uncolonized patches visible.
Contamination is most likely to appear during colonization. Green, black, orange, or pink patches indicate competing molds; sour or fermented smells suggest bacterial contamination. If contamination appears, isolate the affected container immediately and do not open it indoors. Healthy mycelium is white (or sometimes slightly off-white) and should have a clean, mushroomy or slightly sweet smell.
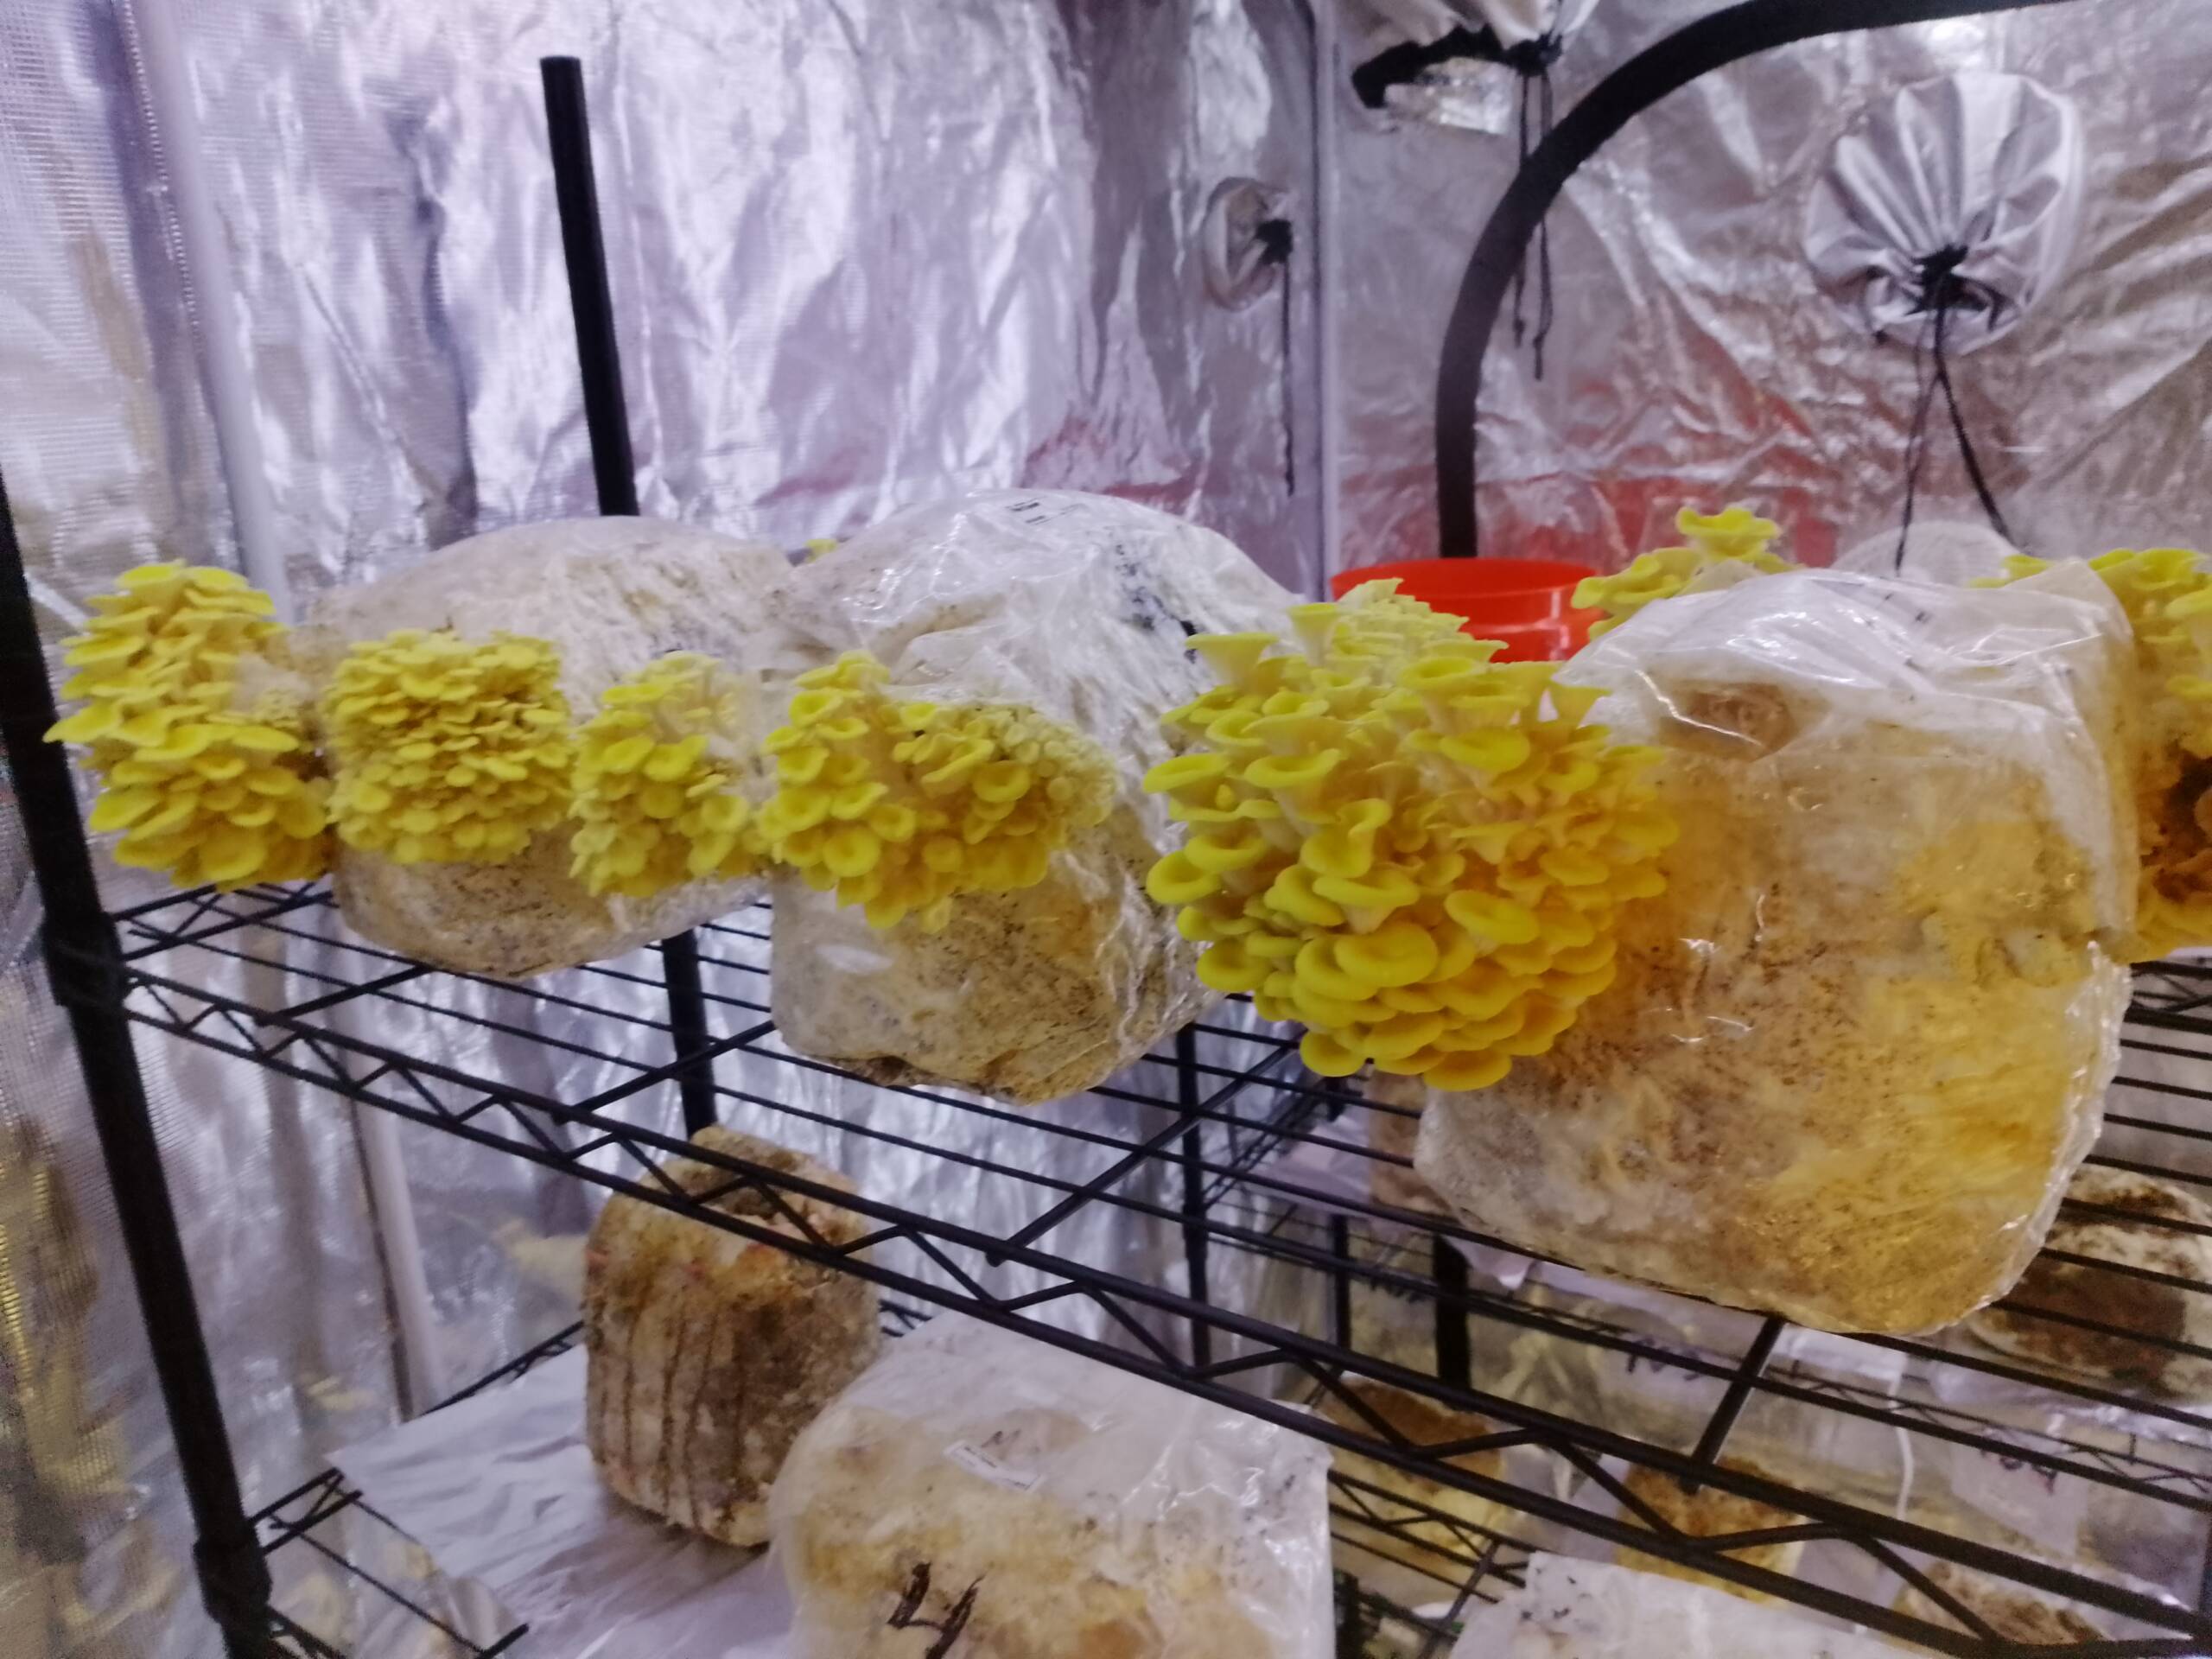
Stage 3: Fruiting
Once the substrate is fully colonized, it is time to initiate fruiting — the stage where mycelium transitions from vegetative growth to producing mushrooms. Fruiting requires a change in environmental conditions: increased humidity (85-95% relative humidity), fresh air exchange, indirect light, and often a slight temperature drop compared to the colonization phase. For bag-based grows, cut slits or an X-shaped opening in the bag to expose the colonized substrate to these fruiting conditions.
Within 5-14 days of initiating fruiting conditions, you should see small pins (baby mushrooms) forming at the openings or across the substrate surface. Pins develop rapidly — most gourmet species double in size daily during the early stages of fruit body development. Maintain consistent humidity by misting 2-3 times daily and fanning briefly after each misting to provide fresh air exchange.
Stage 4: Harvest
Harvest timing varies by species. Oyster mushrooms are typically ready when the cap edges begin to flatten out or curl upward slightly — just before the caps turn fully flat. Lion’s mane is ready when the spines are well-developed and the fruit body is firm and white. Shiitake caps should be harvested when they are 70-80% open, before the edges become fully flat. Harvesting at the right stage maximizes both flavor and shelf life.
To harvest, grip the base of the mushroom cluster firmly and twist gently while pulling away from the substrate. Avoid cutting with a knife if possible — cutting leaves a stump that can become a site for contamination. After harvest, remove any remaining substrate debris from the fruiting area and continue misting to initiate a second flush. Most substrates produce 2-3 flushes before nutrients are exhausted. For detailed species-specific instructions, explore our Learn section.
Add Comment